Taking Photos to Create Vector Illustrations
I'm currently in the process of redesigning my site and came to the point of needing some illustrations to convey a message. These illustrations were different parts of the body, such as a hand and ears. I started drawing them on paper but found they weren't turning out how I imagined them to be. I wasn't getting proportions quite right, especially for the hands. So, what I decided to do was turn on my webcam and pose for the pictures I wanted and then used those photographs to trace in Adobe Illustrator.
As silly as I felt doing these various poses infront of my webcam, it made the process really easy and quick. The final results still have the feeling of being illustrated but the proportions are perfect, better than what I could have ever drawn.
In this tutorial, we will take a look at setting up your shots and then how to turn those photos into vector illustrations using Adobe Illustrator.
Taking the Photographs
For this tutorial, we'll create an illustration that represents "listening" -- a hand held to an ear.
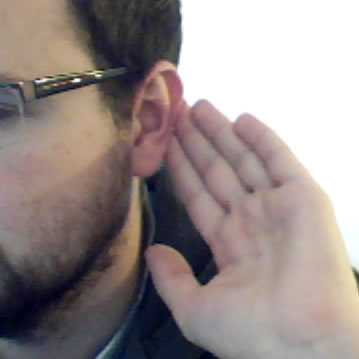
As the photograph won't be a part of the final result -- just a guide to help make it -- it's quality really doesn't matter. Providing you can see the photograph well enough to trace around the outlines you're good to go. I used my webcam and saved a snap in Skype.
If you don't have a webcam, you could use a camera or find a photograph on the web. This technique would be ideal for objects too.
Tracing and Converting to a Vector Illustration
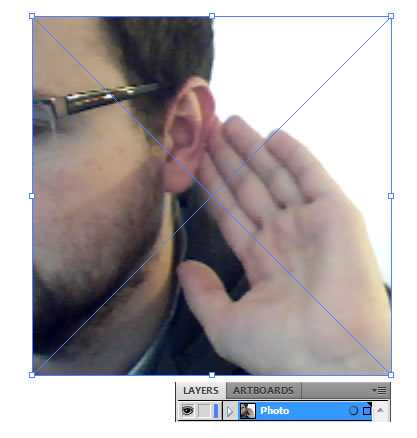
Open Adobe Illustrator, then click 'File' and 'Place...'. Find the photograph you want to trace and click 'Place' to add it to your Artboard. Name this layer 'Photo'.
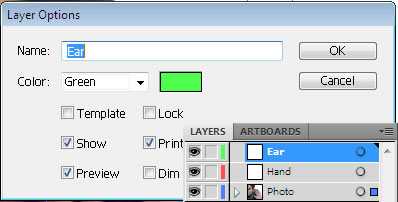
Click the 'Create New Layer' button and create two new layers above the 'Photo' layer and call them 'Hand' and 'Ear' by double clicking each layer. The 'Ear' layer should be above 'Hand' as the tip of the hand will be behind the ear in the final vector illustration.
Tracing the Ear
To begin with, we'll trace just the outline of the ear so we can give it a base colour. After that, we can then start adding more detailed outlines to the ear.
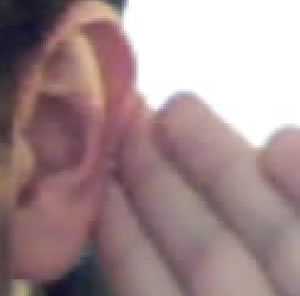
Zoom in to the ear to a level that feels comfortable to work with. You'll need to be able to see the detailed lines of the ear to be able to trace it. I find 400% works well. Now select the Pen Tool.
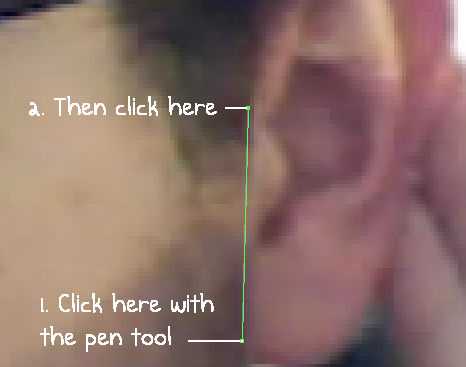
With the 'Ear' layer selected, click on the outer edge of the ear -- where you start is up to you but I usually start on a straight line -- then click again further along the ear.
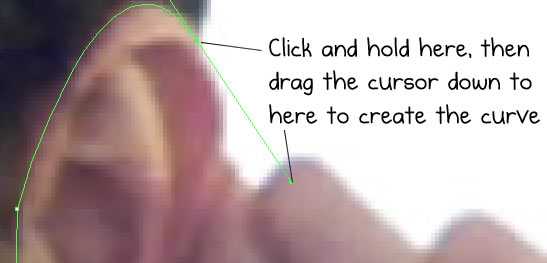
To create a curve, click and hold where the curve will end, then drag the cursor to create a curve until it matches the outline of the ear.
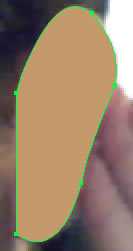
Now continue drawing the outline of the ear until your vector shape is complete. This will serve as the base of our ear (just so we could give it a colour).
Detailing the Ear
To give the illustration a particular, 'clean sketch' style, rather than just outline each line of the ear, I'm going to break up the outlines into several lines. We'll also use Illustrators 'Variable Width Profile' to make those lines different widths.
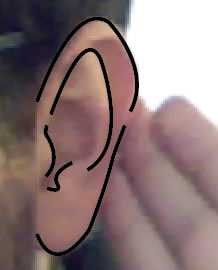
Select the base layer you created and give it an opacity of around 20%, this way, we can see the original ear behind the vector again. Select the Pen Tool and start drawing the inner lines of the ear.
It looks cartoony which you may like, but I'm aiming for a slightly more sophisticated look so let's apply 'Variable Width Profiles' to each path we just drew. Select the 'Selection Tool' and holding Shift on your keyboard, click each of the paths to select them all. Be careful not to select the base layer as we don't want to apply a stroke to that.
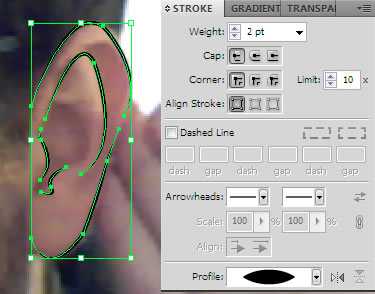
Open the 'Stroke' palette by clicking 'Window' > 'Stroke' (or Ctrl + F10). Choose a weight of 2 and set the 'Profile' to 'Width Profile 1'.
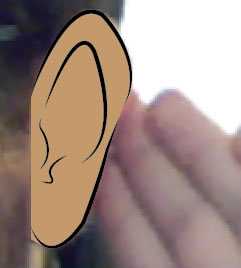
Change the opacity of the base layer back to 100% to see how the ear looks. You may notice I've given a few of the strokes a width of 1 as they are smaller areas. I like the fact the base layer doesn't quite match up perfectly with the outer strokes so I decided to keep that in. If you don't like that, select the 'Direct Selection Tool' and move the nodes of that vector shape in slightly to match the outlines path.
Drawing the Hand
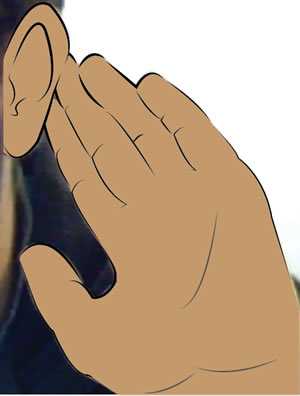
For the hand, we simply do exactly what we did for the ear. Draw a vector shape that becomes the base layer that we apply the colour to, and then start drawing broken outlines around that vector.
Finishing Off
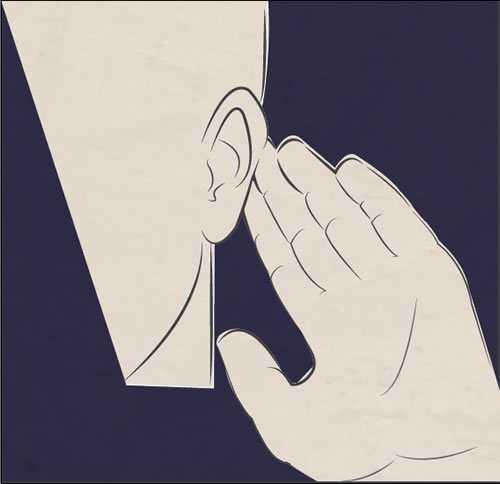
So now we've got the bulk of the illustration done, we can start to finish it off. You may want to draw the head, I've just chosen to do the back of it as well as adding some extra detail to the hand and putting a texture over the top.
Ian Lunn is a Front-end Developer with 16 years commercial experience, author of CSS3 Foundations, and graduate of Internet Technology. He creates successful websites that are fast, easy to use, and built with best practices.